Cart
No products in the cart.
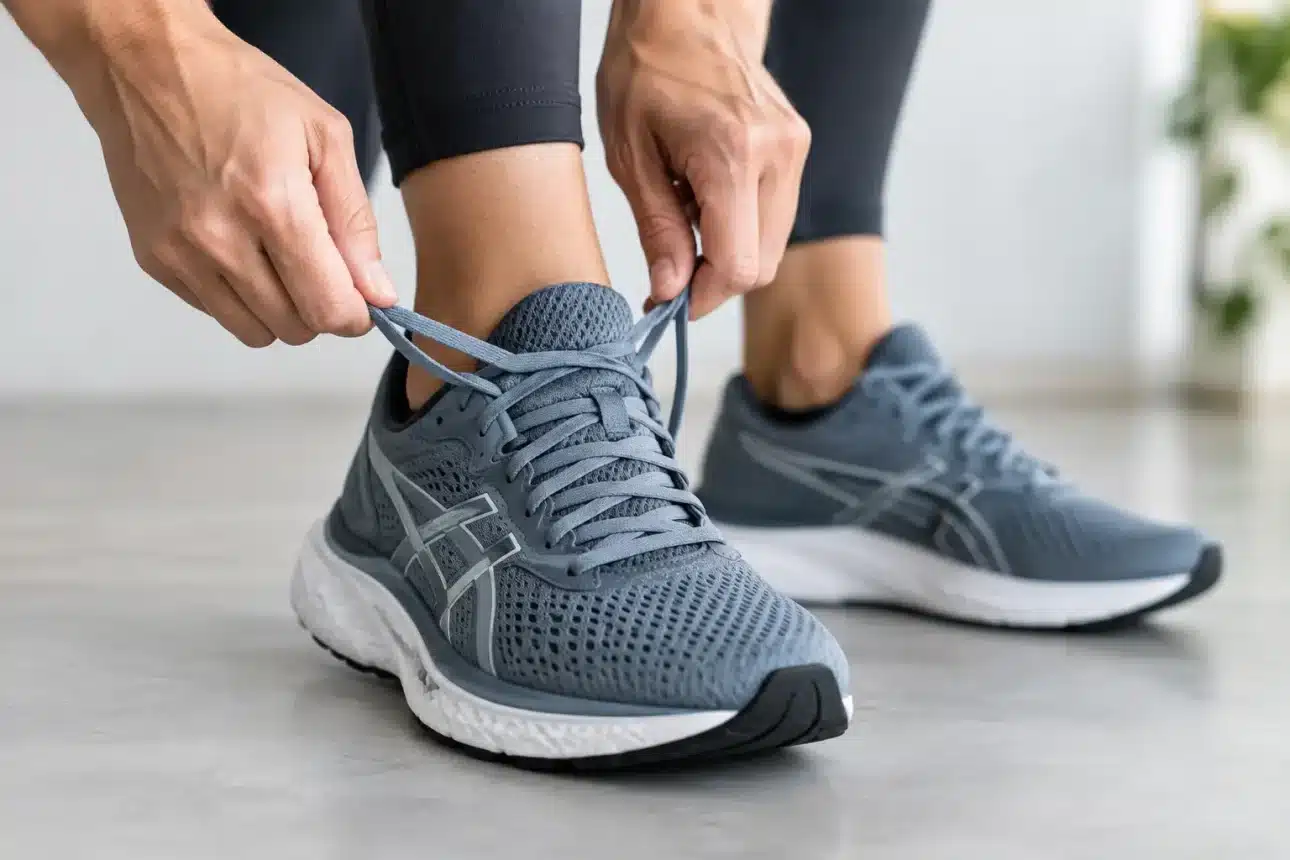
Your running shoes can have the right size, the right cushion, and the right brand name, then still feel awful because they are laced badly. Learning how to lace running shoes is less about fancy knots and more about stopping your heel from sliding, giving your toes room, and taking pressure off the spot that starts hurting after two miles.
We see plenty of runners pull every row as tight as possible, then wonder why their feet go numb. Don’t do that. Tight is not the same as secure. A good lace job holds the shoe around your midfoot while letting the front of your foot spread naturally when you land.
Before changing the laces, make sure the shoe itself is close to right. Lacing can fine-tune a fit. It cannot turn a too-small shoe into a good running shoe. You should have roughly a thumb’s width between your longest toe and the end of the shoe when standing. Your heel should sit back in the heel cup without feeling crushed.
Put the shoe on with the socks you actually run in. Thin everyday socks and padded running socks can make the same shoe feel like two different sizes. Tap your heel gently on the floor to seat it at the back, then begin tightening from the bottom rows upward.
The basic rule is simple: keep the lower rows comfortably snug, pull the middle rows firm enough to hold your foot, and use the top rows to control heel movement. That gives you support without turning the upper into a clamp.
For most runners, the standard crisscross pattern is still the best place to start. It is simple, adjustable, and works with almost every road running shoe from Nike, Brooks, ASICS, Hoka, New Balance, On, and Adidas.
Start at the bottom eyelets with the lace ends even. Cross each lace over to the eyelet on the opposite side, moving upward one row at a time. Pull each crossing gently as you go instead of yanking everything tight at the end. This spreads tension more evenly across the top of your foot.
When you reach the last regular eyelets, stand up and take a few steps. Your heel should feel settled. Your toes should wiggle. If the shoe feels secure but your forefoot feels squeezed, loosen the first two crossings before touching the top. That small adjustment often works better than buying longer laces or cinching the whole shoe harder.
We like this approach because it is boring in the best way. It works. Save the special patterns for a real fit problem.
Use a regular bow, then double-knot it if your laces tend to come undone. A double knot is not stylish, but neither is stopping mid-run to avoid stepping on a loose lace. Keep the loops short enough that they do not slap against your ankles or catch on the other shoe.
If you hate double knots, tuck the loops under the crossed laces on top of the shoe. Just do not tuck them so tightly that they create a hard lump over your foot.
That extra top eyelet near the ankle is not decorative. It is there for a heel-lock lacing pattern, often called a runner’s loop. If your heel lifts on hills, your toes slide forward on descents, or the shoe feels loose at the collar, this is the first thing we would try.
Instead of crossing the laces through the final eyelets, run each lace straight up into the extra eyelet on the same side. Leave a small loop on both sides. Cross each lace end over the tongue, feed it through the loop on the opposite side, then pull both ends outward and down before tying.
You will feel the collar tighten around your ankle. That is the point. It anchors the heel without forcing you to overtighten the entire shoe. The result should feel locked in, not strangled.
There is a trade-off. A runner’s loop can put pressure near the front of the ankle if you pull it too hard, especially in a shoe with a stiff padded collar. If that happens, leave a little more slack in those loops or go back to a standard tie. More lockdown is not automatically better.
Some runners have a high instep, which simply means the top of the foot sits higher. In a normal crisscross pattern, the laces can press directly into that area and make the shoe feel painfully tight even when the length and width are right.
The fix is called window lacing. When you reach the eyelets sitting over the sore or pressured spot, run each lace straight up to the next eyelet on the same side instead of crossing over. Then continue the normal crisscross pattern above it.
That creates a small gap, or window, over the sensitive area. It gives the top of your foot breathing room while the lower and upper sections still hold the shoe in place. It looks slightly different, but running shoes are tools. We would take a better run over a perfectly symmetrical lace pattern every time.
If pressure appears only after several miles, start with a slightly looser middle section before using window lacing. Feet often swell during longer runs. A shoe that feels fine standing in your hallway can feel much tighter once you are warm and moving.
If the front of your foot feels pinched, do not keep tightening the lower laces for security. That usually makes the problem worse. Lace the first few rows with light tension, then make the midfoot more secure higher up.
You can also skip a crossing at the very bottom by running each lace straight up one eyelet before beginning the crisscross pattern. This opens the forefoot slightly. It is useful when the shoe is almost right but feels restrictive across the ball of your foot.
For toe pressure, especially if your toenails bang into the front on downhills, start by checking shoe length. Lacing cannot create extra space in front of your toes. If there is enough room, use a runner’s loop to stop your foot from sliding forward. That is much smarter than choking the forefoot with tight laces.
Black or repeatedly sore toenails are worth taking seriously. It may be a lacing issue, but it can also mean the shoe is too short or too narrow for your running stride. We would not try to tough that out.
A narrow foot can move side to side inside a running shoe, even when the heel seems fine. In that case, use the normal crisscross pattern but pull the middle two or three rows a little firmer. Keep the toe area relaxed and finish with a runner’s loop only if the heel still moves.
Do not tighten every row equally. That is the mistake. Your foot needs different things in different places: room at the front, hold in the middle, and stable contact at the heel.
If you are constantly cranking down the laces and still swimming in the shoe, be honest with yourself. The model may simply be too wide or too high-volume for your foot. A new lacing pattern helps around the edges. The right shape helps every step.
Walk around for a minute, then jog lightly if you can. Your heel should stay planted when you lift your foot. The tongue should lie flat, not drift sideways. You should be able to wiggle your toes, and no lace crossing should feel like it is digging into one sharp spot.
Do a quick check again after the first mile on a longer run. If your feet start tingling, loosen the middle rows. If your heel starts sliding, tighten the top section or add the runner’s loop. Make one change at a time so you know what actually fixed the problem.
At SneakerPrime, we like shoes that feel good out of the box, but the final fit happens when you lace them for your feet. Take two minutes before your next run. Your shoes should disappear under you, not become the thing you think about every half mile.